Hey there! I'm a supplier of Canvas, and today I'm super stoked to chat with you about how to use Canvas with Three.js. If you're into creating cool 3D graphics and visualizations, this combo can take your projects to the next level.
First off, let's get a quick intro to what Canvas and Three.js are. Canvas is a super handy HTML element that lets you draw graphics via JavaScript. It's like a blank canvas (pun intended) where you can create all sorts of stuff, from simple shapes to complex animations. Three.js, on the other hand, is a JavaScript library that makes it easier to work with WebGL. WebGL is a technology that allows for hardware-accelerated 3D graphics in the browser. With Three.js, you don't have to deal with all the low - level WebGL code, which is awesome.
Setting Up the Environment
To start using Canvas with Three.js, you need to have a basic HTML file set up. Create an HTML file and link to the Three.js library. You can either download the library and host it locally or use a CDN. Here's a simple example of what your HTML file might look like:
<!DOCTYPE html>
<html lang="en">
<head>
    <meta charset="UTF - 8">
    <meta name="viewport" content="width=device - width, initial - scale = 1.0">
    <title>Canvas with Three.js</title>
    <script src="https://cdnjs.cloudflare.com/ajax/libs/three.js/r128/three.min.js"></script>
</head>
<body>
    <canvas id="myCanvas"></canvas>
    <script>
        // Your JavaScript code will go here
    </script>
</body>
</html>
Initializing Three.js in the Canvas
Once you've set up your HTML file, it's time to initialize Three.js within the Canvas. You'll need to create a scene, a camera, and a renderer. The scene is like the world where all your 3D objects will live. The camera is how you view that world, and the renderer is what takes your scene and camera and turns it into an image on the Canvas.


// Get the canvas element
const canvas = document.getElementById('myCanvas');

// Create a scene
const scene = new THREE.Scene();

// Create a camera
const camera = new THREE.PerspectiveCamera(75, window.innerWidth / window.innerHeight, 0.1, 1000);
camera.position.z = 5;

// Create a renderer
const renderer = new THREE.WebGLRenderer({ canvas: canvas });
renderer.setSize(window.innerWidth, window.innerHeight);
Adding 3D Objects
Now that you've got the basic setup, it's time to add some 3D objects to your scene. Let's start with a simple cube. To create a cube, you need to create a geometry and a material. The geometry defines the shape of the object, and the material defines how it looks.
// Create a cube geometry
const geometry = new THREE.BoxGeometry();

// Create a material
const material = new THREE.MeshBasicMaterial({ color: 0x00ff00 });

// Create a mesh (the combination of geometry and material)
const cube = new THREE.Mesh(geometry, material);

// Add the cube to the scene
scene.add(cube);
Animation
One of the coolest things about using Canvas with Three.js is the ability to create animations. You can use the requestAnimationFrame function to create a loop that updates the scene and renderer continuously.
function animate() {
    requestAnimationFrame(animate);

    // Rotate the cube
    cube.rotation.x += 0.01;
    cube.rotation.y += 0.01;

    renderer.render(scene, camera);
}

animate();
Interactivity
You can also add interactivity to your Canvas with Three.js. For example, you can use the addEventListener to detect mouse clicks or movements. Let's say you want to change the color of the cube when the user clicks on it.
canvas.addEventListener('click', function () {
    cube.material.color.set(0xff0000);
});
Using Different Canvas Fabrics
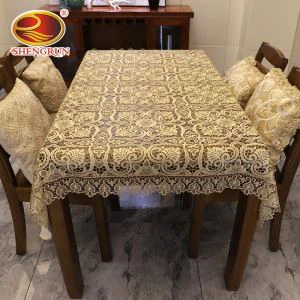
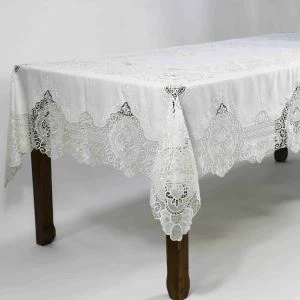
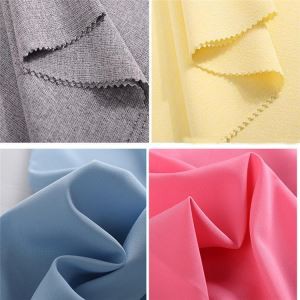
As a Canvas supplier, I'd like to mention some of the amazing Canvas fabrics we offer. Check out our TC resistant to chlorine bleaching hospital fabric. It's super durable and great for hospital settings. Also, our Polyester Water Proof Canvas Fabric For Tent With UV is perfect for outdoor tents, providing both water - proofing and UV protection. And if you're into home textiles, our Cotton Fabrics Are Used in Home Textiles are top - notch.
Advanced Techniques
There are also some advanced techniques you can use when working with Canvas and Three.js. For example, you can use textures to make your 3D objects look more realistic. You can load an image as a texture and apply it to your material.
// Load a texture
const textureLoader = new THREE.TextureLoader();
const texture = textureLoader.load('path/to/your/image.jpg');

// Create a new material with the texture
const texturedMaterial = new THREE.MeshBasicMaterial({ map: texture });

// Create a new mesh with the textured material
const texturedCube = new THREE.Mesh(geometry, texturedMaterial);

// Add the textured cube to the scene
scene.add(texturedCube);
Performance Optimization
When working with Canvas and Three.js, performance can be a concern, especially when you have a lot of 3D objects or complex animations. Here are some tips to optimize performance:
- Reduce the number of objects: The more objects you have in your scene, the more processing power it takes to render them. Try to keep the number of objects to a minimum.
- Use simpler geometries: Complex geometries take longer to render. Use simpler shapes whenever possible.
- Optimize textures: Large textures can slow down your application. Compress your textures and use smaller ones if you can.
Conclusion
Using Canvas with Three.js is a powerful way to create amazing 3D graphics and visualizations in the browser. Whether you're a beginner or an experienced developer, there's always something new to learn. And if you're in the market for high - quality Canvas fabrics, don't hesitate to reach out for a chat about your procurement needs. We're here to help you find the perfect Canvas for your projects.
References
- Three.js Documentation
- HTML Canvas API Documentation
- MDN Web Docs on WebGL