Embroidery is a timeless art form that adds a touch of elegance and personalization to various items. One delightful project you can embark on is creating an embroidered bookmark. Not only is it a practical item for book lovers, but it also serves as a beautiful keepsake or a thoughtful gift. As an embroidery supplier, I'm excited to share with you a step-by-step guide on how to make an embroidered bookmark.
Materials You'll Need
Before you start, gather the following materials:
- Fabric: Choose a fabric that is suitable for embroidery, such as cotton, linen, or a cotton blend. You can select a plain fabric or one with a subtle pattern.
- Embroidery Floss: Select a variety of colors that complement your fabric. Embroidery floss is typically made of six strands, and you can separate them to create different thicknesses.
- Embroidery Needle: Use a sharp needle with a small eye to easily thread the embroidery floss.
- Scissors: A pair of sharp scissors will be needed to cut the fabric and embroidery floss.
- Hoop: An embroidery hoop helps to keep the fabric taut and makes it easier to stitch. Choose a hoop that is slightly larger than the size of your bookmark.
- Pencil or Fabric Marker: You'll need this to mark the design on the fabric.
- Optional: Backing Fabric or Felt: Adding a backing fabric or felt to the back of the bookmark can give it more stability and a finished look.
Step 1: Choose Your Design
The first step in making an embroidered bookmark is to choose a design. You can find inspiration from various sources, such as books, magazines, online tutorials, or your own imagination. Consider the theme, style, and colors that you want to incorporate into your bookmark. Some popular designs for bookmarks include flowers, animals, quotes, or geometric patterns.
Once you have chosen a design, you can either draw it directly on the fabric using a pencil or fabric marker or print it out and transfer it to the fabric using a transfer method. If you're new to embroidery, you may want to start with a simple design and gradually work your way up to more complex ones.
Step 2: Prepare the Fabric
Cut a piece of fabric to the desired size of your bookmark. A standard bookmark size is around 2 inches wide and 6 to 8 inches long, but you can adjust the size according to your preference. Make sure to leave some extra fabric around the edges for hemming.
Place the fabric in the embroidery hoop and tighten the screw to secure it. The fabric should be taut but not too tight, as this can cause it to warp or stretch. Smooth out any wrinkles or bumps in the fabric to ensure a flat surface for stitching.
Step 3: Transfer the Design
If you're using a printed design, you can transfer it to the fabric using a transfer method. One common method is to use a transfer pen or pencil. Simply trace the design onto the back of the printed paper using the transfer pen or pencil, then place the paper face down on the fabric and use a bone folder or the back of a spoon to rub the paper firmly. The design will transfer onto the fabric.
Another method is to use a lightbox or a window. Place the printed design on the lightbox or window, then place the fabric on top of the design. You should be able to see the design through the fabric, and you can trace it onto the fabric using a pencil or fabric marker.
Step 4: Thread the Needle
Cut a length of embroidery floss, usually around 18 to 24 inches. Separate the strands of the floss according to the thickness you want to use. For most embroidery stitches, using 2 to 3 strands of floss is a good starting point.
Thread the needle with the embroidery floss and tie a small knot at the end. Make sure the knot is small enough to pass through the eye of the needle.
Step 5: Start Stitching
There are many different embroidery stitches you can use to create your design. Some basic stitches include the running stitch, backstitch, satin stitch, and French knot. You can find tutorials online or in embroidery books to learn how to do these stitches.
Start stitching along the outline of your design using the running stitch. The running stitch is a simple stitch where you make small, even stitches in a straight line. Continue stitching until you have completed the outline of the design.
Next, fill in the design with the satin stitch. The satin stitch is used to create a smooth, solid area of color. To do the satin stitch, make a row of parallel stitches close together, then go back and fill in the gaps with another row of stitches. Repeat this process until the design is filled in.
You can also add details to your design using other stitches, such as the French knot for creating small dots or the lazy daisy stitch for creating flowers. Experiment with different stitches to add texture and dimension to your bookmark.
Step 6: Finish the Edges
Once you have completed the embroidery, remove the fabric from the hoop. Trim any excess fabric around the edges of the bookmark, leaving about 1/4 inch of fabric for hemming.
Fold the edges of the fabric over to the back of the bookmark and press them with an iron to create a neat hem. Use a running stitch or a whipstitch to sew the hem in place. Make sure to sew close to the edge of the fabric to keep the hem secure.
Step 7: Add a Backing (Optional)
If you want to give your bookmark more stability and a finished look, you can add a backing fabric or felt to the back of the bookmark. Cut a piece of backing fabric or felt to the same size as the bookmark and place it on top of the back of the bookmark.
Use a running stitch or a whipstitch to sew the backing fabric or felt to the bookmark, making sure to sew around the edges. Leave a small opening at one end of the bookmark to turn it right side out.
Turn the bookmark right side out through the opening and use a chopstick or a pencil to push out the corners. Press the bookmark with an iron to flatten it.
Step 8: Add a Tassel or Ribbon (Optional)
To add a finishing touch to your bookmark, you can add a tassel or a ribbon to one end. You can make your own tassel using embroidery floss or purchase a pre-made tassel from a craft store.
To attach the tassel or ribbon to the bookmark, thread it through a small hole at the end of the bookmark and tie a knot to secure it. You can also add a bead or a charm to the tassel or ribbon to make it more decorative.
Conclusion
Making an embroidered bookmark is a fun and rewarding project that allows you to express your creativity and add a personal touch to a practical item. By following these steps and using the right materials, you can create a beautiful and unique bookmark that you'll be proud to use or give as a gift.

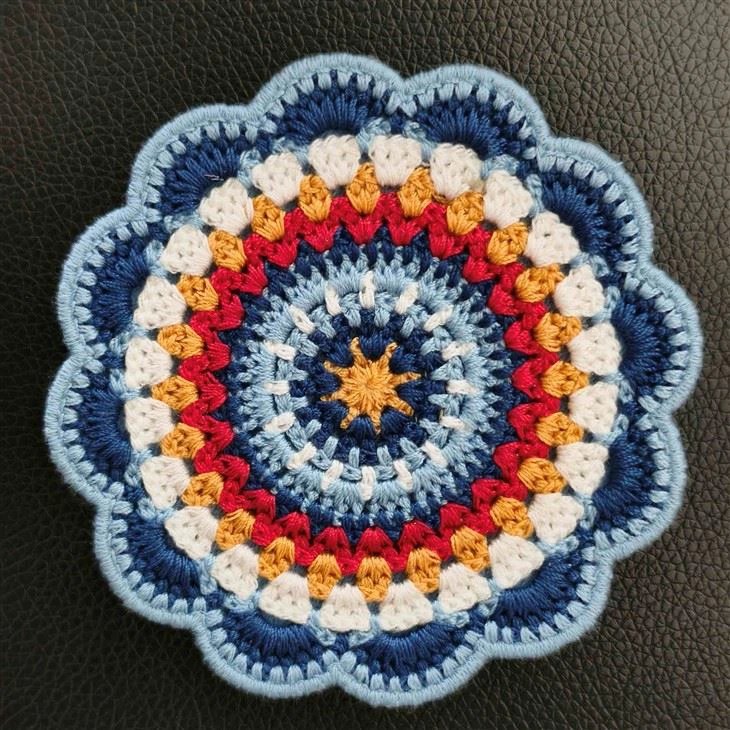
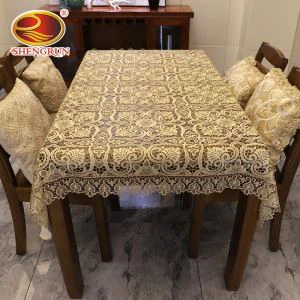
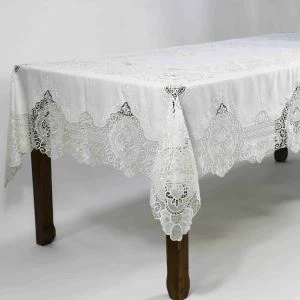
As an embroidery supplier, we offer a wide range of high-quality materials and supplies for all your embroidery needs. Whether you're a beginner or an experienced embroiderer, we have everything you need to create stunning embroidery projects. Check out our website for more information on our products, including Eco-Friendly Polyester Table Mats, Handmade Vintage Floral Coasters - Cotton Drink Mats For Wood & Glass, and Polyester Lace Table Cloth For Wedding Beautiful Velvet Fashion Tablecloth.
If you're interested in purchasing our products or have any questions, please feel free to contact us. We're always happy to help and look forward to working with you.
References
- "Embroidery for Beginners: A Step-by-Step Guide" by Jane Smith
- "The Complete Book of Embroidery Stitches" by Mary Thomas
- Online tutorials and resources from various embroidery websites and blogs