Joining new balls of acrylic yarn is a skill that every crafter, whether a beginner or an experienced one, needs to master. As a supplier of high - quality acrylic yarn, I've witnessed firsthand how important this seemingly simple task is in the overall crafting process. In this blog, I'll share some effective methods to join new balls of acrylic yarn, which will help you create seamless and beautiful projects.
Why Joining Yarn Properly Matters
Before we dive into the techniques, let's understand why joining new balls of acrylic yarn correctly is crucial. When you're working on a large project like a sweater or a blanket, you'll likely need to use multiple balls of yarn. A poor join can result in visible bumps or weak spots in your work, which not only affects the aesthetics but also the durability of the finished piece. A well - executed join, on the other hand, ensures a smooth transition between yarn balls, making your project look professional and polished.
Different Methods of Joining Acrylic Yarn
The Knot Method
One of the most straightforward ways to join new balls of acrylic yarn is by using a knot. This method is quick and easy, making it a popular choice for beginners.
- Step 1: Prepare the Yarn
Take the end of the old ball of yarn and the beginning of the new ball. Hold them side by side, overlapping each other by about 3 - 4 inches. - Step 2: Tie a Knot
Tie a simple overhand knot around both strands of yarn. Make sure the knot is tight but not so tight that it distorts the yarn. You can adjust the tightness by gently pulling on the ends of the yarn. - Step 3: Weave in the Ends
After tying the knot, use a tapestry needle to weave the loose ends of the yarn into the back of your work. This will hide the knot and prevent it from coming undone.
However, the knot method may leave a small bump on your work, so it's not recommended for projects where a smooth surface is crucial, such as Soft Acrylic Yarn For Sweater.
The Russian Join
The Russian join is a more advanced technique that creates a nearly invisible join. It's ideal for projects where you want a seamless transition between yarn balls.
- Step 1: Create a Loop
Take the end of the old ball and the beginning of the new ball. Make a small loop with the end of the old ball, and insert the beginning of the new ball through the loop. - Step 2: Twist and Pull
Twist the new ball of yarn around the old ball about 3 - 4 times. Then, pull the end of the old ball through the loop created by the twists. - Step 3: Tighten the Join
Gently pull on both ends of the yarn to tighten the join. You may need to adjust the twists to make sure the join is smooth. - Step 4: Weave in the Ends
As with the knot method, use a tapestry needle to weave in the loose ends of the yarn into the back of your work.
This method requires a bit of practice, but once you master it, you'll be able to create beautiful, seamless projects with Soft Acrylic Yarn.
The Splicing Method
Splicing is another great way to join acrylic yarn, especially for projects that require a strong and invisible join.
- Step 1: Prepare the Yarn
Unravel about 3 - 4 inches of the end of the old ball and the beginning of the new ball. Separate the individual fibers of each yarn strand. - Step 2: Overlap and Blend
Overlap the separated fibers of the old and new yarns. Use your fingers to blend the fibers together, creating a smooth transition between the two yarns. - Step 3: Twist and Tighten
Twist the blended fibers together to form a single strand. Pull gently on the ends of the yarn to tighten the join. - Step 4: Weave in the Remaining Ends
Weave in any remaining loose fibers into the back of your work using a tapestry needle.
Tips for Joining Acrylic Yarn
- Choose the Right Method
Consider the type of project you're working on and the look you want to achieve when choosing a joining method. For projects where a smooth surface is essential, opt for the Russian join or splicing. If speed is more important, the knot method may be sufficient. - Practice Makes Perfect
Don't be discouraged if your first few joins aren't perfect. Joining yarn takes practice, so try out different methods on a scrap piece of yarn before starting your actual project. - Use the Right Tools
A tapestry needle is essential for weaving in the loose ends of the yarn. Make sure you choose a needle that's the right size for your yarn.
Our Acrylic Yarn for Your Projects
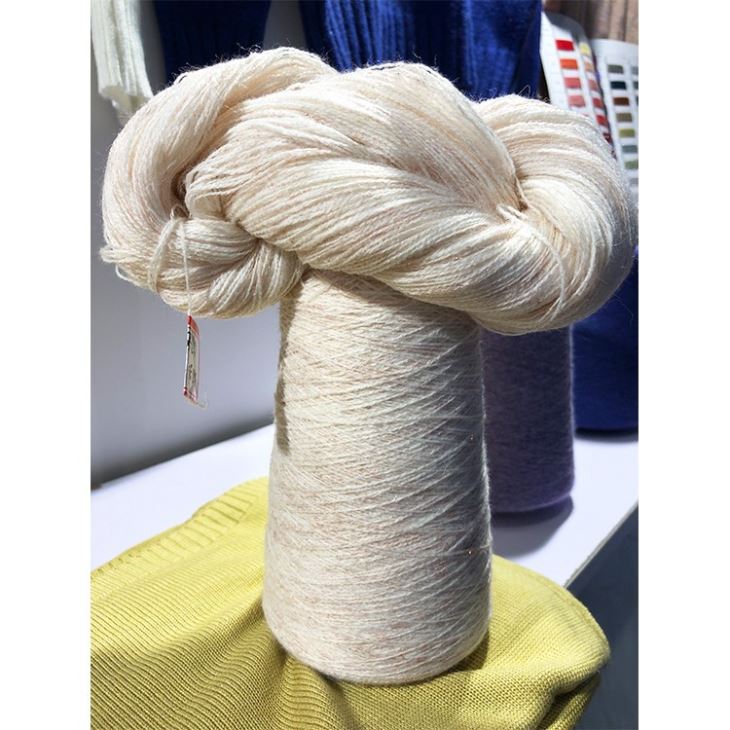
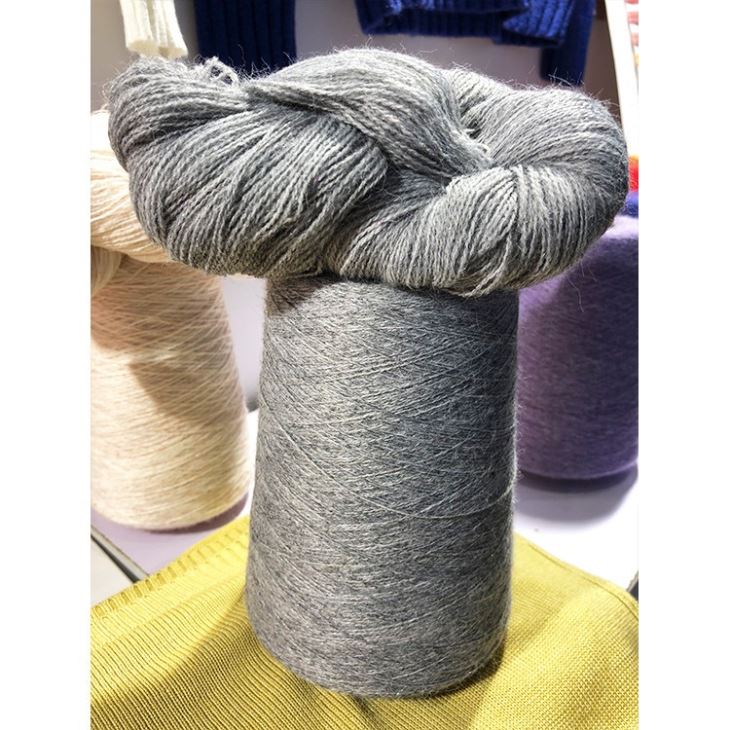
At our company, we offer a wide range of AB Acrylic Yarn Used For Knitting Weaving. Our acrylic yarn is soft, durable, and comes in a variety of colors and thicknesses. Whether you're knitting a scarf, crocheting a hat, or weaving a blanket, our yarn is perfect for your next project.
Contact Us for Procurement
If you're interested in purchasing our high - quality acrylic yarn, we'd love to hear from you. We can provide you with detailed product information, samples, and competitive pricing. Whether you're a small - scale crafter or a large - scale manufacturer, we have the capacity to meet your needs. Contact us to start a procurement discussion and take your crafting projects to the next level.
References
- Smith, Jane. "Techniques for Joining Yarn in Knitting and Crochet." Crafting Magazine, Vol. 15, Issue 2, 2022.
- Johnson, David. "The Art of Seamless Yarn Joins." Yarn Enthusiast Journal, Vol. 8, Issue 3, 2023.